Buying an Older Home: HVAC Maintenance Checklist – Trane®
Ask your inspector the right questions during your home evaluation.
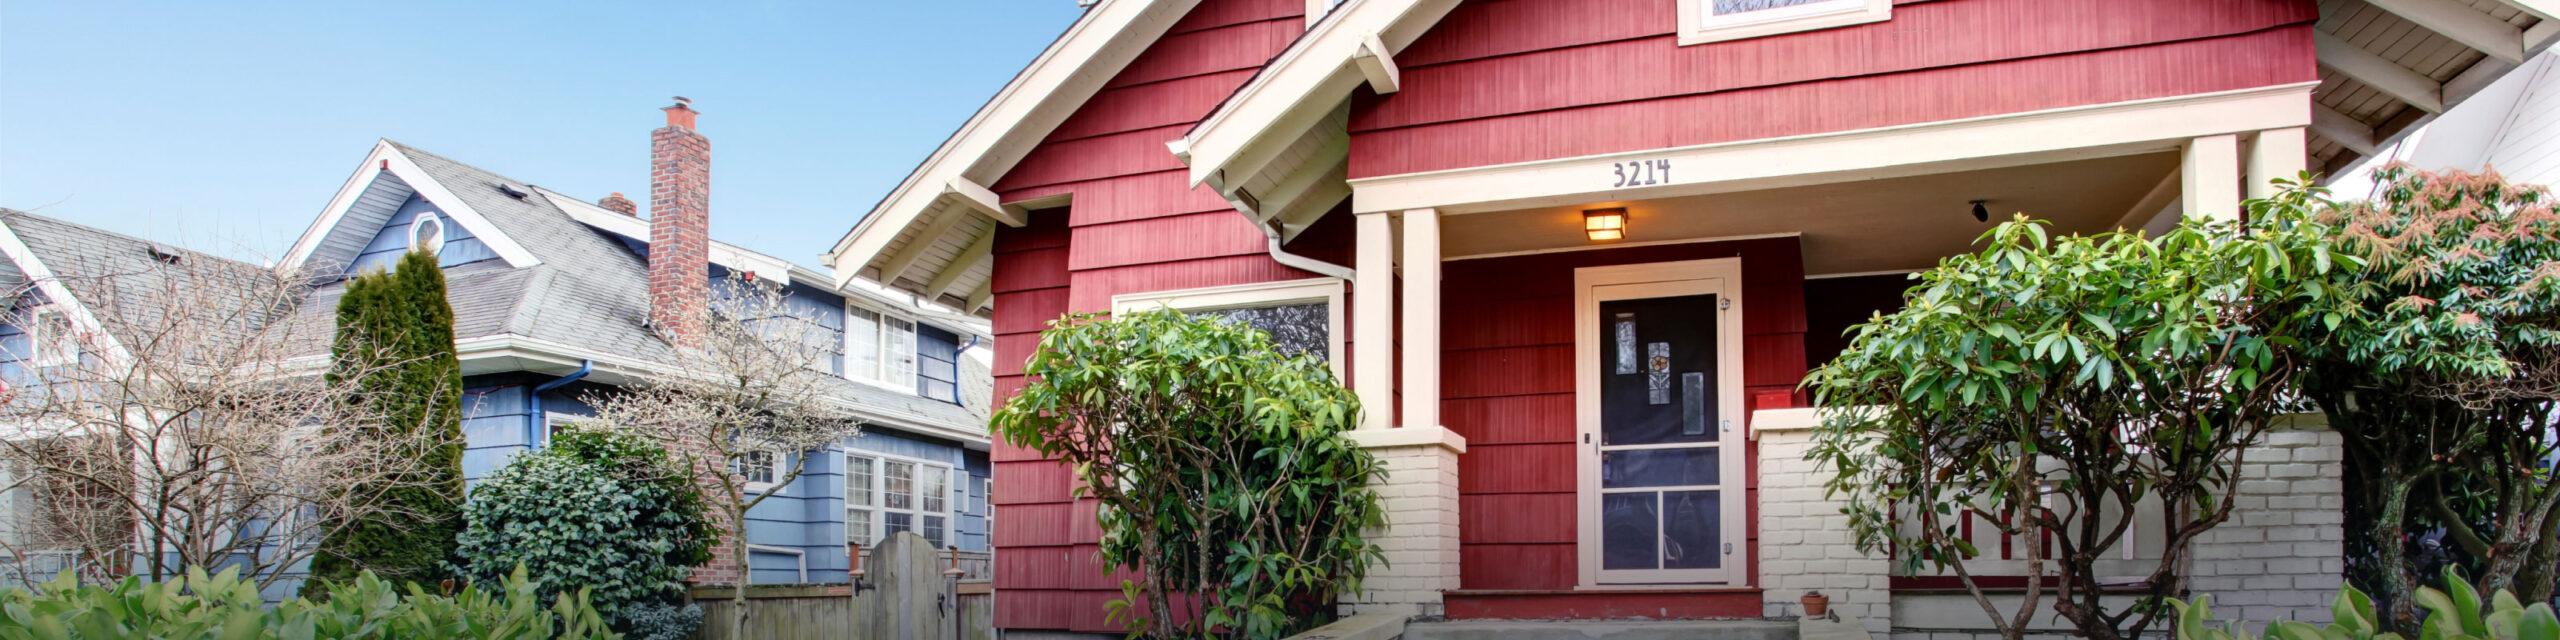
When purchasing an older home, following an HVAC maintenance checklist can help avoid costly and unexpected repairs or replacements.
According to a survey of first-time home buyers, 44% of buyers reported feeling nervous throughout the process. From securing a mortgage loan and finding the “right” place to call home to undergoing a myriad of inspections, there is no denying it's an emotional rollercoaster. Because a new home already comes with a hefty price tag, it is critical to ensure that there are no surprises after the deal is sealed. While many are laser focused on the pipes, the foundation, and the electrical system, the HVAC system is often overlooked. This is especially true when buying an older home, as the cost to replace ductwork, a furnace or a central air conditioning system can be exponential.
Even if the system is functional, holes or loose connections in the ductwork can cause serious energy loss of around 20-30%, while dirt and dander can trigger allergies and asthma attacks. These problems can turn your dream home into a nightmare if left unaddressed. From exceedingly high utility bills with less than ideal home temperatures to all-around discomfort for occupants, an HVAC maintenance checklist equips homebuyers with the information they need to make an informed decision.
The Ultimate HVAC Maintenance Checklist for Older Homes
1. Hire an HVAC expert and install carbon monoxide detectors.
The first step on any HVAC maintenance checklist is to check the furnace. With any home purchase, make sure to have it checked by a technician during the home inspection. Your technician should be able to tell you the condition of the furnace and let you know about any potential repairs or costs you could face soon. With your realtor’s help, you may even be able to subtract all or part of the cost of the furnace from the seller’s asking price. If the existing furnace does pass inspection, continue to have it checked annually. In addition to inspections, the Environmental Protection Agency recommends cleaning ductwork as needed. Likewise, inquire about the installation date of the furnace. In general, furnaces last for around 15 to 20 years. Proper maintenance may extend the lifespan, but knowing the age can help predict when the need for a replacement may arise. This can help with budgeting and ensure that you are prepared when the time comes.
As another part of the furnace HVAC maintenance checklist, check that homes with older HVAC systems and furnaces have carbon monoxide detectors installed for safety. If not, be sure to install them before moving in and equip them with battery-powered backups, so that they remain functional in the event of a power outage. Carbon monoxide can be released into the air if an exhaust pipe for the furnace suddenly breaks. Because this gas is colorless and odorless, it is nearly impossible to detect. This makes the detectors imperative to keep everyone in your household safe.
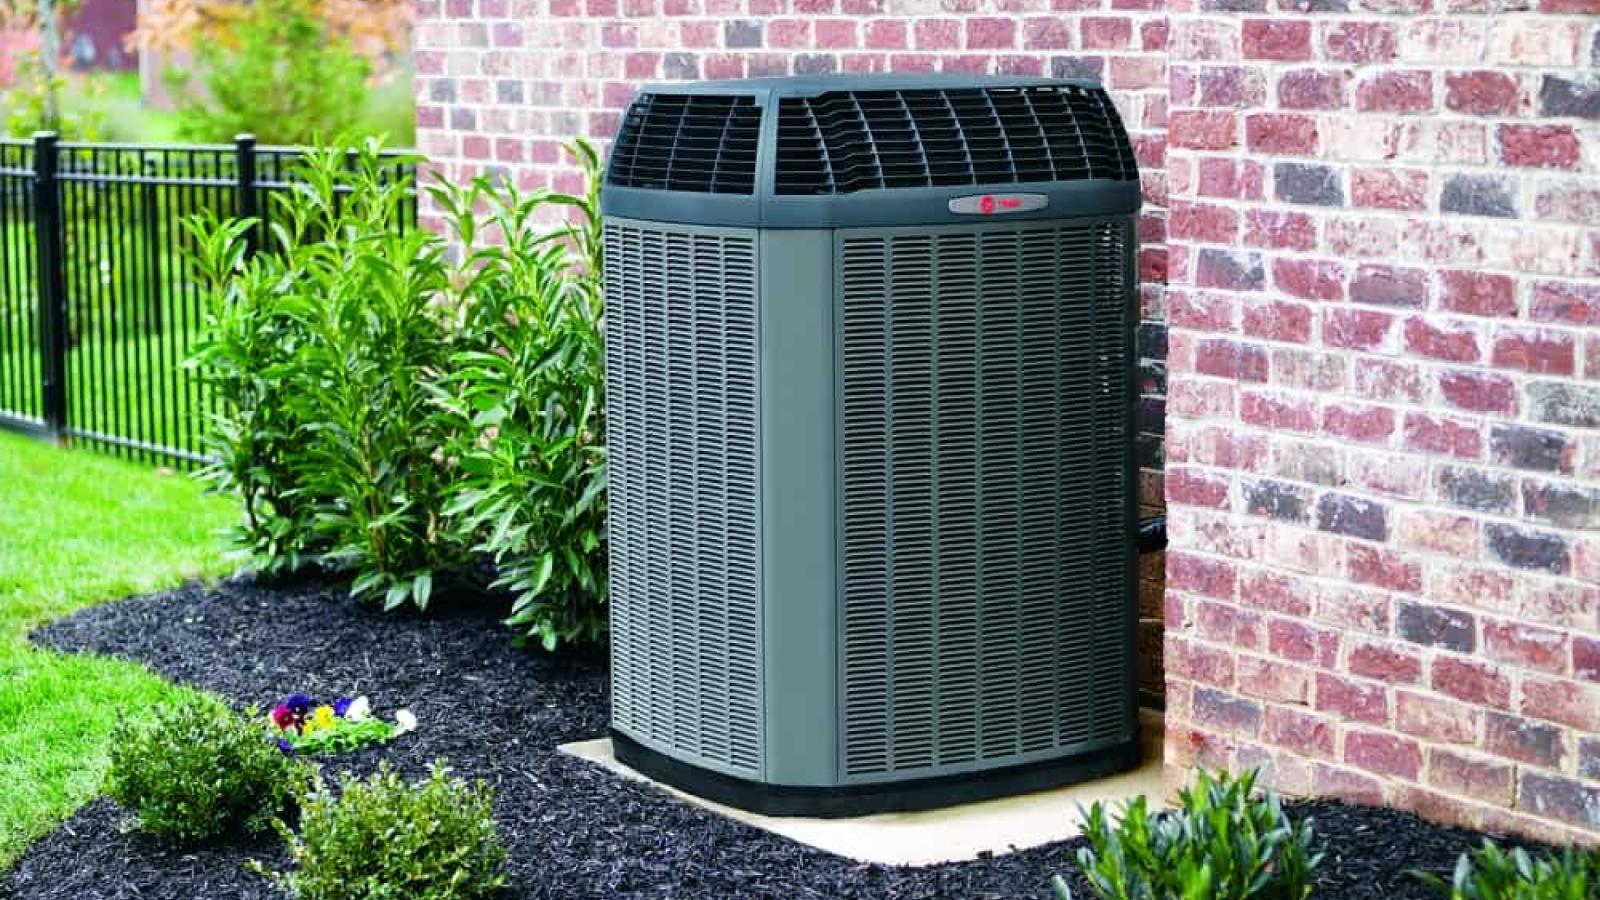
2. Identify the air conditioning system used in the home.
The next step of the HVAC maintenance checklist involves identifying the air conditioning system in the home. Most older homes rely on the use of window air conditioning units, although central air conditioning may have been installed in more recent years.
If the previous homeowners have used window unit air conditioners, this is a good point to discuss the costs of installing a new HVAC system or a central air conditioning unit. Your local authorized Trane dealer can provide you with a quote that includes the cost of installation, labor, and equipment. The price will vary widely based on many factors, such as the HVAC system you are interested in and whether ductwork is in place or would need to be installed. Fortunately, if there is no ductwork, a mini-split ductless system is a great way to avoid costly and time-consuming ductwork installation. It also presents an opportunity to merge your heating and cooling system into one unit versus separate ones.
If there is a central air conditioning unit in place, you will want to identify the year of installation, the model, and its overall energy efficiency level. Many older air conditioners can be inefficient and replacing them could result in significant energy savings over the life of the system. Check out SEER2 ratings to compare the energy efficiency of different models.
3. Determine if ductwork is in place and examine it thoroughly, if so.
As a crucial part of the HVAC maintenance checklist, inspect the ductwork in the home thoroughly. Keep in mind that some older homes use electric or steam radiant systems to heat the home. These homes will not have existing ductwork in place. This is an important factor to note as it will determine your options for replacing the HVAC systems currently in place.
The two most common options include:
- Install new ductwork throughout your home.
While this can be an invasive and expensive option, you can work with your contractor to minimize the ductwork visibility while still efficiently moving air to all parts of the house.
- Invest in a ductless system.
You may also opt for a ductless system, also known as a mini-split system. As the name suggests, these systems do not require ducts but rather run small refrigerant and drainage lines from an outdoor unit to one or more indoor units.
If you discover ductwork as part of this HVAC maintenance checklist, you will need to examine all system areas thoroughly. An expert HVAC technician is your best option for this task, as it requires an extensive inspection. After this inspection, the technician will let you know the condition of the ductwork. If the ductwork contains holes, rust, or otherwise has problems, it will need to be removed and replaced. This is because it will lead to significant energy loss. In turn, your HVAC system will work on overdrive, but the temperature in your home will not reach an ideal temperature due to the energy loss. Instead, you will experience increased utility bills.
When problems or excessive dirt are discovered, cleaning the ducts may be helpful, but this will be determined by the level of severity. In extreme cases, dirt can drastically reduce the indoor air quality. This presents a big problem for those with allergies or asthma, who fare better with the use of ductless HVAC systems and enhanced air filtration systems.
4. Test the existing thermostat
Non-programmable thermostats are most commonly in place in older homes with existing HVAC systems. Testing the thermostat seems like a relatively small part of the HVAC maintenance checklist; however, it is an important one. A thermostat that does not work properly may prompt your HVAC system to power off and on frequently, leading to increased energy bills and consumption. It may also display an inaccurate temperature or fail to change the temperature settings when changed, leading to discomfort and affecting the performance of the HVAC system.
Today, non-programmable thermostats are outdated and less efficient than newer or smart thermostats. In general, most thermostats last for around 10 years. If your older home has one that is older than this, replacing it with an option compatible with the HVAC system can improve comfort, convenience, and overall control of your older home’s temperature.
Smart thermostats can learn the preferences of the user. For instance, it recognizes that a homeowner turns off the air conditioning daily when leaving for work. It can be programmed to perform these changes automatically. Likewise, if a homeowner forgets to turn off the heating or cooling while away from home, they can do so remotely from an app. Applications like Trane’s Home app enable maximum control, while other settings like energy efficiency are available to cut costs and excessive energy consumption.
5. Check the home’s insulation, windows, and doors
After all of the HVAC system components have been checked and thoroughly examined by a certified technician, check the home's insulation, windows, and doors. An improperly insulated home will have a tough time retaining the hot or cool air produced by an HVAC system. Regardless of how efficient the system is, the energy loss will result in higher utility costs and impact home comfort levels.
Insulation
Identify the type of insulation in place in the older home and then measure the thickness of the insulation in several different areas, such as the attic or basement. The ideal insulation amount depends widely on the climate zone the older home is located in and the type of insulation used. If you are unsure of the type or amount, your home inspector should be able to provide more information.
Windows and Doors
Drafty windows and doors are synonymous with older homes. Look for any drafts or gaps as part of an HVAC maintenance checklist. If you notice any of these, call in a professional to determine if your windows or doors need to be replaced for maximum heating and cooling efficiency.
Connect with a Trane Dealer for HVAC Maintenance Checklist Assistance
Need a trusted technician to help complete the HVAC maintenance checklist in an older home? Connect with a Trane dealer near you for help with inspections, recommendations, and installations.
Related articles